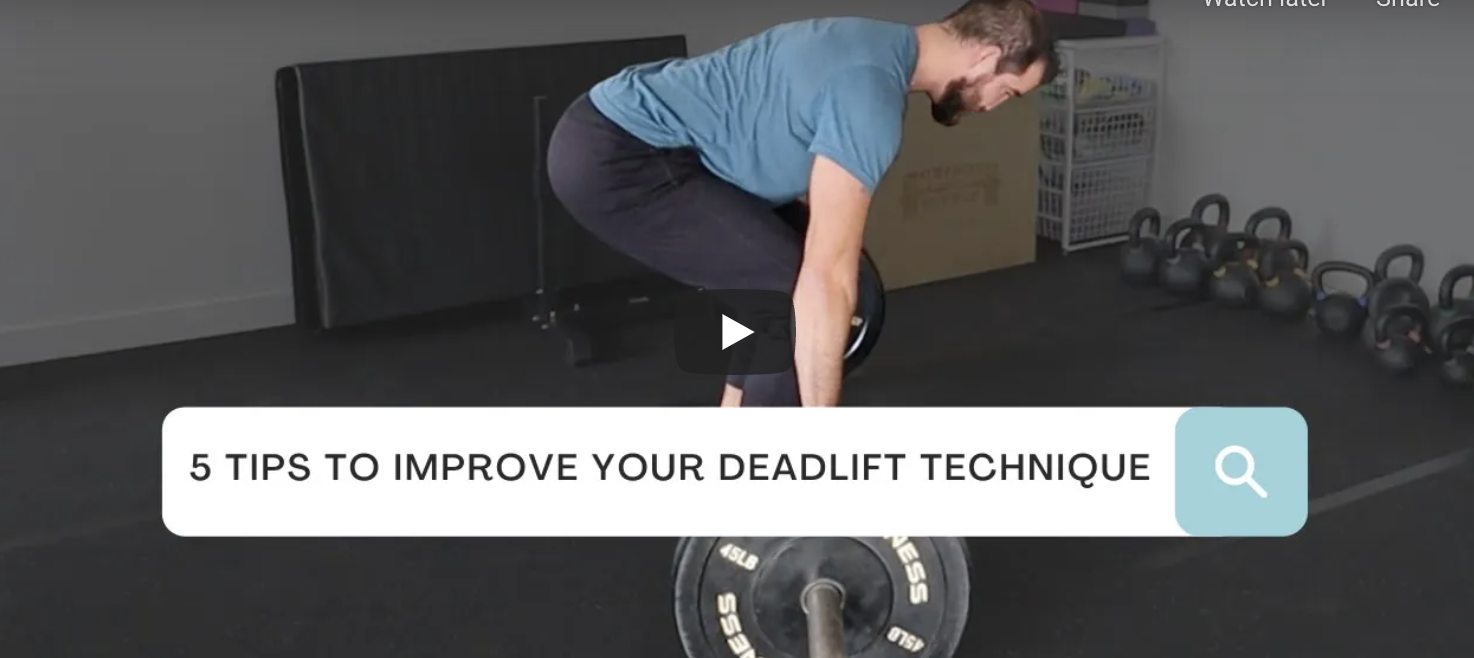
5 Easy Tips to Improve Your Deadlifts (video included)
Today, we will be going over five of the top tips that we give to help our patients and our clients, who visit our Lafayette Chiropractic Clinic, with deadlifting.
This is an associated video with a podcast episode that we did. It's the same information that we did in the Podcast. We just wanted to demonstrate what those tips are so that you can see it in live-action to give you a little bit more of a frame of reference.
Now, how can you apply this information?
Well, digest it.
Practice it.
Film yourself.
Get a coach.
If you don't have a coach looking at you and you're trying to go through a self-developmental process, you're just trying to understand your body a little bit more. That is a fantastic way to understand what's going on.
But sometimes, you need that expertise and coach's eye to give you what you need.
So let's dive in:
1) Keep the bar close
The first tip is keeping the bar, or the weight closer to you and not letting it get too far in front of you.
From a side view I need my shins right up against the bar, so you can see how close that weight is to me. This helps me keep that bar path nice and straight and close to my body as I go up and down, hinging to do the movement.
Now, if I did this exact same thing, but I'm standing out here, you can see how much further that bar gets away from me and I can feel how much more load and stress is being put on my back as a result of that.
Now the same also goes true. If we're just talking about like a kettlebell. We prescribe sumo deadlifts or kettlebell deadlifts all the time.
But what we instruct is for people to straddle, or stand directly over the kettlebell, okay, now, why is because it keeps that weight nice and close to you. And it allows you to sit back into your heels to make sure we're loading that posterior chain.
But same thing, if I'm forward here, where that kettlebells in front of my toes, I'm going to be putting potentially a lot more strain on that lower back, because I've increased the distance from the kettlebell to the actual lever, moment arm, which should be essentially my hips, right.
So as I'm reaching forward, that's going to put more strain on here, now, you can still maintain a neutral spine, a long spine or a straight back, but just simply the act of having an out in front of you, even though my backstraight, this is having to work that much harder.
So we want to make sure we're keeping the weight, the box, whatever that is closer to us, okay.
2) Watch your speed
Now, the second point that we want to make is pulling too fast.
You can see in the video that I'm pulling the bar too fast.
So what that means is, my shoulders are connected my arms, my hands connect to the barbell, the work is basically being done from here to pull my upper body up, which is effectively going to pull my arms up.
So what can happen is if I just start yanking too fast, I'm rising too fast. I'm trying to jerk that bar up to be explosive, because you want to move the weight all finding good, but what can happen with all of the speed is we lose tension and end up rounding the back.
We're effectively not keeping all that pre tension that you've built up. And what happens is you want to yank really fast in the spine will end up rounding your back sometimes, because your body's trying to move too fast and you're not maintaining the tension.
We want to be able to make sure that when we're rising up the whole unit, and the whole system is rising up together at the same speed, and we're not rising with a really fast, jerky motion.
3) Control your hips
The next fix that you want to think about is not letting your hips rise too fast as well.
I gave an analogy on the podcast, which I'm going to describe here.
Imagine my elbow is my hips. My forearm is my torso, and my fist is my shoulder.
So in this setup, which is a hinge, it's perfectly fine for your torso to be horizontal to the ground.
So what will happen sometimes is we'll set up and then we'll start to lift and the hips will come up, because you trying to pretension the hamstrings and the posterior chain.
When the hips start to rise too fast then the upper body is trailing which has to follow to lift the weight but they are not moving together. We want collectively for everything to be moving together.
As an example, let’s say we have a good setup. But based on maybe being a little bit too squatty or low, what's going to happen is once I want to start lifting, you're going to see the hips rise to increase tension in the hamstrings or posterior chaing.
You see this one step, two step jerky motion. It could be subtle and you might be maintaining a neutral spine still, but I'm shifting hips first, and then the rest is coming.
Again, the reason why most people are doing that is because we did not tend to pretension that posterior chain, the hamstrings and the glutes enough. And so your body's trying to find that tension, before you lift. Your body is trying to store up elastic energy to help you initiate the movement before the concentric motion of the muscles takes place.
Ideally, what you'd want to try to do is find that hip position that makes you feel like you're under that initial tension. And when referring to barbell deadlifts you're going to hear a little click as the barbell pulls into the ring of the plate.
It is fine to start a little low, and then raise the hips a little bit. But that is the pre-tension, and then you should move as one unit.
4) Activate your core and get your torso ready
Next tip is activating your core and getting your torso ready! We hear brace, tighten abs, and a number of different cues that people will give when lifting to clients or coaching.
We are going to go back to our forearm analogy. In order for the shoulders to effectively rise as the hips come through and forward. The forearm (torso or core) cannot be soft, right?
Notice, obviously, my, my forearm is one piece/bone. But that's essentially what I'm trying to do, I'm trying to turn my torso into one stiffened piece, so that the forced transfer that my legs are doing, as my hips are driving forward, will adequately raise my chest, raise my shoulders, raise my arms and raise the weight.
If we're soft, and we have a soft system, then as you come up, you're going to be dispersing energy all over the place and not being as effective and efficient. And this could could potentially lead to some back pain or an injury, right? So we want to make sure that that that mid system is stiffened. So that you can transfer all that force that you're generating to your shoulders, arms, weight, so on and so forth.
So what do we need to do? We need to stiffen the torso.
The torso is essentially the area from my shoulders, ball socket joints to ball and socket joints at the hips.
As I'm hinging, my torso stays together as a unit. The curvatures you have in your spine as your stand with normal posture will be preserve and maintained when you hinge, it is simply your torso is in a different angle in space.
We're trying to maintain that and as the load increases, you have to stiffen the abdominal wall all the way around to ensure that you're keeping that together. We can do that by increasing your intra-abdominal pressure.
One of the main cues people understand will be to take a big breath of air in, increase the air and then hold it, that'll help stiffen your torso/abdominal wall.
One of the most important things to understand is knowing how much tension you need to generate. If you're over bracing it will not be useful for you and expending more energy than necessary. But as the task gets heavier, you're going to need to brace and stiff more, because low load is going to really challenge your positioning on that torso.
Another cue is to stick your fingers into the space/midsection between your ribs and your pelvis. Next, pretend like you're blowing out a candle forcefully. You should see and feel that part of your torso expand, right?
While I'm not pushing my belly out, that little cue of blowing hard stiffens the torso automatically and you get a little bit of an expansion of the abdominal wall. You should also feel this in the back. The next cue is the same but with a Wonder Woman or Superman pose. With your hands on your waist and in between your ribs and pelvis your thumbs will be pointed and right in the side/back muscles near your spine. When you blow the candle out you should feel a little pulse against your thumbs.
This is an amazing tool for someone who's recovering an injury who's feeling vulnerable in certain hinging or squatting positions. We can enhance the bracing and stiffening because it's going to provide more stability, and more comfort, that allows us to keep moving and keep loading you and keep progressing while feeling more and more confident.
5) break down pre-tensioning and wedging
The last tip is going to break down pre tensioning and wedging.
Pre tension or wedging is essentially one trying to pull themselves down into the hole or pull themselves into the bar, which is basically like compressing the spring. So when you are ready, you begin to release the stored up energy to help you initiate the movement, and then all the muscles involved in this movement are going to go through its concentric phase to actually lift me up.
When talking about pre tension or perhaps better understood as activation, we are trying to load and prime the posterior chain which would be the backside of the body. And for deadlifts we are looking at the hamstrings, glutes, and back primarily.
We can facilitate the pre tension by wedging and pulling down into the bar, but we can also increase this tension by torquing into the floor.
When we tell people anchor your feet, they are going to be screwing into the ground, without actually moving your feet. This creates a coil of tension up the legs.
Now we also have to pre tension our connection to the bar, kettlebell, or dumbbell so that we have a strong linkage to the task. If we have a weak connection or weak grip that is going to make it harder to move the weight.
So imagine a dowel, the bar, or a handle. Your hands are right next to each other and you are trying to snap it in half like breaking a stick.
This is exactly like screwing our feet into the ground, only now your shoulder having coiled up tension that also connects all the way down to your lower back and hips through the lats.
So if effectively doing all of these things together, you're going to be in a stronger state to start the movement through better pre tension and wedging.
Effective & efficient deadlifts
Each one of these tips coincide and overlap with each other, to effectively make the movement done more effective and efficiently.
Now, when we talk about effectiveness and efficiency, that's good, because that allows you to lift more, and if done well, you can lift more and if done well, you also reduce the chances of overloading some of the more vulnerable places within a deadlift, which would usually be areas like your lower back.
Many of you may only be picking and choosing one or two of these tips to implement. Many of you know this ins and outs of deadlifting, but if you are new or hesitant because of a previous injury these tips will be very helpful for you.
If you're doing deadlifts, hopefully this helps you. If you're not doing deadlifts, I encourage you to do deadlifts. It can be barbells, it can be kettlebells, it doesn't matter.
I just want you to pick up some stuff off the ground, make that posterior chain stronger, make those postural muscles stronger, make your hips stronger, reduce load and share load between the Jones joints to make your back pain better to help heal back pain.
Call to action